Getting Started with Trezor: Your Ultimate Guide to Secure Cryptocurrency Management
If you’re new to the world of cryptocurrency or even a seasoned investor, one thing remains constant: security. As the digital currency landscape continues to grow, safeguarding your assets is more critical than ever. One of the most trusted ways to protect your crypto is by using a hardware wallet, and Trezor is one of the leading names in this space.
Whether you’ve already purchased your Trezor device or you’re just getting started, Trezor.io/start is the place to begin. Here's a step-by-step guide to help you set up your Trezor wallet securely and efficiently.
Step 1: Unbox Your Trezor Wallet
The first thing you’ll notice when you unbox your Trezor device is the sleek and compact design. Inside the box, you’ll find your Trezor hardware wallet, a USB cable, and a recovery seed card. This card will be crucial, as it stores the recovery phrase that can restore your funds in case your wallet is lost or damaged.
Step 2: Visit Trezor.io/start
To begin the setup process, head over to Trezor.io/start in your browser. This website will guide you through the entire process of initializing your wallet and connecting it to your computer. It’s essential to use the official Trezor site to avoid any potential phishing attempts or malicious software.
Step 3: Install Trezor Bridge
Once on Trezor.io/start, the first thing you’ll be prompted to do is download and install Trezor Bridge. This software is needed for your Trezor wallet to communicate with your computer. The installation process is straightforward and available for both Windows and macOS.
Step 4: Set Up Your Trezor Device
After the Trezor Bridge is installed, connect your Trezor device to your computer via USB. A welcome screen will appear, prompting you to set up your device. Follow the on-screen instructions to choose your language, create a PIN code, and generate a recovery seed.
The recovery seed is a series of 24 words that act as the backup for your wallet. It’s critical to write down this seed on the provided recovery card and store it in a safe place. Never share it with anyone, as it’s the key to accessing your funds.
Step 5: Secure Your Crypto
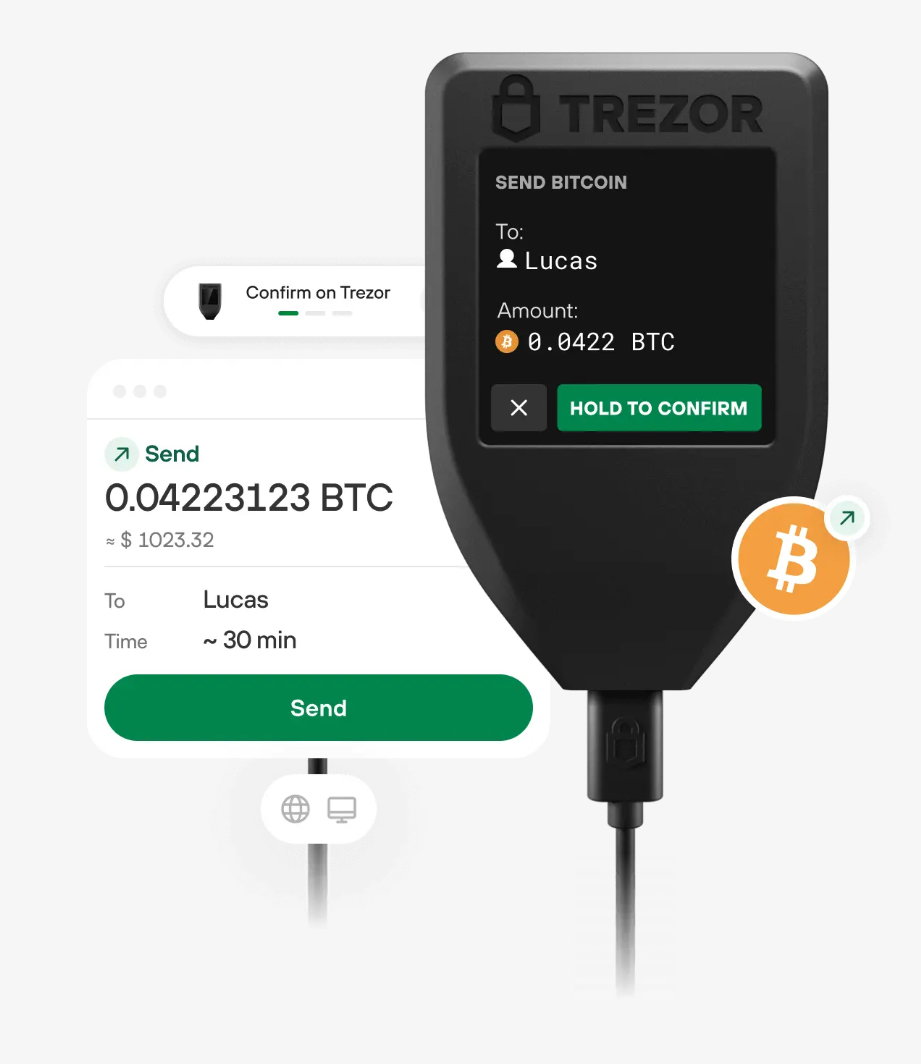
Once your Trezor wallet is set up, you can start managing your cryptocurrency securely. You can add different coins and tokens, send and receive transactions, and monitor your balance—all within the Trezor app interface.
Trezor also integrates with popular platforms like Trezor Suite and third-party services like Exodus and Coinomi, offering flexibility for managing your portfolio.
Final Thoughts
Using a Trezor hardware wallet provides peace of mind knowing that your assets are secured with state-of-the-art encryption and offline storage. Trezor.io/start is your gateway to setting up the wallet, and by following these simple steps, you’ll be well on your way to safeguarding your cryptocurrency investments. Remember, your recovery seed is the most important piece of information—keep it safe, and your crypto will stay secure.
Made in Typedream